Arduino, HM-10 and App Inventor 2: Adding a slider

This post continues the Arduino, HM-10 and App Inventor 2 guide. A few people asked about adding a slider so here it is. Please beware; this is not a basic guide for using a slider in App Inventor 2. I am adding a slider to an existing app and have certain things (semi advanced) that I want to achieve.
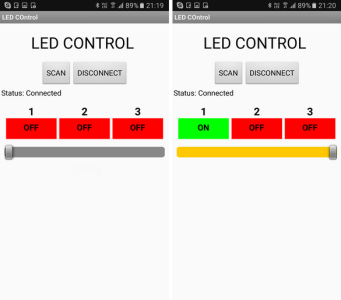
Arduino_HM-10_AI2_Adding_Slider_33 - updateApp_04

In the previous guide we created a basic Android app to control 3 LEDs. The app was developed in such a way to make adapting it as easy as possible. So let’s see if that is true and add a slider to control the brightness of one of the LEDs. We start with extending the app and then update the Arduino sketch.

Using the same command method as before, we will create an ascii command and send it to the Arduino. The command will be in the form “[Snnn]”. Where S is used to denote slider and nnn is a value from 0 to 255, or more specifically “000” to “255”. The Arduino will read the command and set the LED brightness accordingly. Using ascii for this keeps things fairly simply but it is not the fastest way to do it. The slider value will be from 0 to 255, this is actually the same value range as an 8bit byte. Using the ascii command we need 6 characters (including the square brackets). To send the actual value only would require 1 character (2 with a label/marker character). If all you are using is a single slider then there is no reason to use ascii.
Read more

Create A Bluetooth Joypad With App Inventor 2

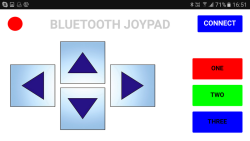
BluetoothJoyPad_draftLayout_01_800Here we create a basic Classic Bluetooth joypad for use on an Android device to control a microprocessor (Arduino) connected to a Bluetooth module. The app is fairly simply. There are 2 screens; the first is the main control panel and the second is a connection page.
When the CONNECT button on the main screen is clicked the second screen is opened to allow the user to connect to a Bluetooth device. The direction buttons, when clicked, transmit codes to the Arduino.

Read more

Arduino, HM-10 and App Inventor 2

Update: The BLE extension included with the examples is out of date and does not function fully any more. Download the latest version from the app inventer BLE extention download and replace the existing extension. Do not delete the old version, upload the new version and it will over write the older version.

You can check the latest version of the BLE extension on the app inventor BLE page.


Hopefully this guide will give you a good introduction to using the HM-10 with App Inventor 2. I also hope that this takes you beyond the usual starter guides that do not go past very basic information.

Although I am using an Arduino the principles will be the same for any other microprocessor or indeed for using the HM-10 on its own. Warning: This is going to be a very long post.

ARD_HM-10_AI2_01_00.gif

To use this guide you should be somewhat familiar with App Inventor, have a BLE enabled Android device, and of course have an Arduino and a HM-10.

Read more

Android MIT App Inventor – Auto Connect To Bluetooth

In a previous post I showed how to connect an app inventor Android app to a Bluetooth module connected to an Arduino to control an LED. See Turning a LED on and off with an Arduino, a HC-06 and Android

A few people have asked how to make it so that the app auto-connects to the Arduino on start up and I thought I would offer my solution. This example adds to the previous guide.

Read more

App Inventor 2 Pseudo Screens

A!2_Pseudo_Screens_01
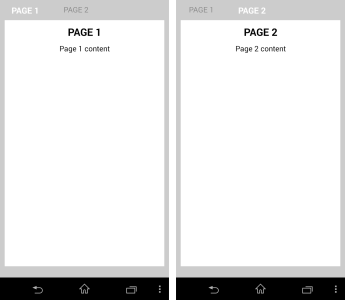
As you may have noticed from some of the other posts, I use App Inventor 2 to create Android apps. I do not have time to learn JAVA programming and I found App Inventor an easy way to get in to the world of Android apps. AI2 is not perfect. It is designed as a teaching aid rather than a fully featured Android programming language and as such there are many things missing. However, you can create some surprisingly advanced apps with it. The Arduino Bluetooth Control and the dropController apps were created in AI2 as is the new Bluetooth Control Panel app.

Read more

arduinoBTcontrol

Updated on 06.08.2016

Controlling an Arduino over Bluetooth from Android using App Inventor 2

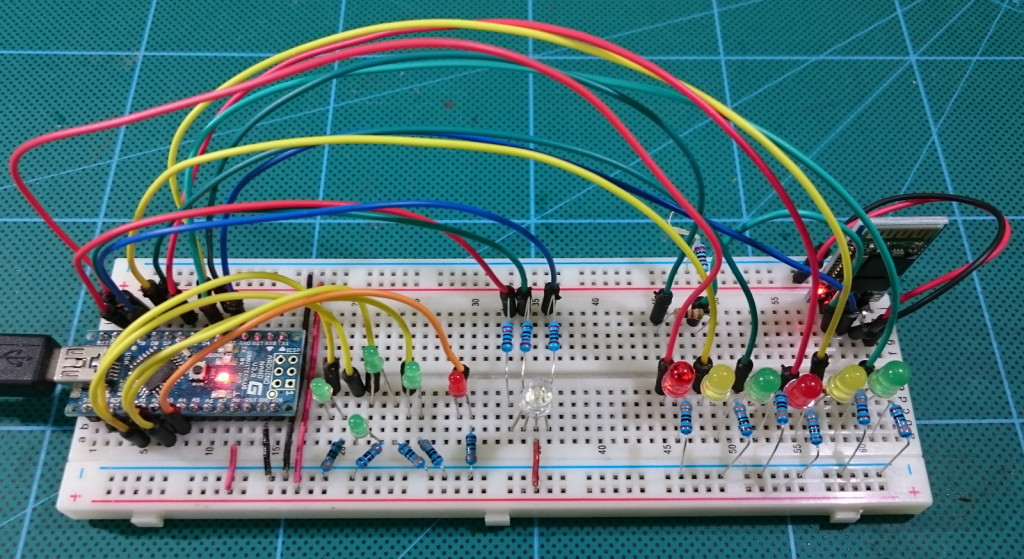
Here is an example of controlling the Arduino over Bluetooth using a HC-06 bluetooth module and an Android app. The example uses an Arduino Nano but other Arduinos will work just as well. A HC-05 module can be used stead of the HC-06.

arduinoBTcontrol - breadboard

The Android app was created in app inventor and the aia file can be downloaded at the bottom of the page.

Read more

Turning a LED on and off with an Arduino, Bluetooth and Android. Part II: 2 way control

In the first part I showed how to control a single LED from an app created in App Inventor. This worked OK but was very limited. You could control only 1 LED and the control was one way; from the app to the Arduino. What if you want to have 2 way control of the LED and to be able to also control the LED from the Arduino side? What if you want to control more than 1 LED?

In this guide we look at adding two-way communication. Here we control an LED but you could have it doing anything.

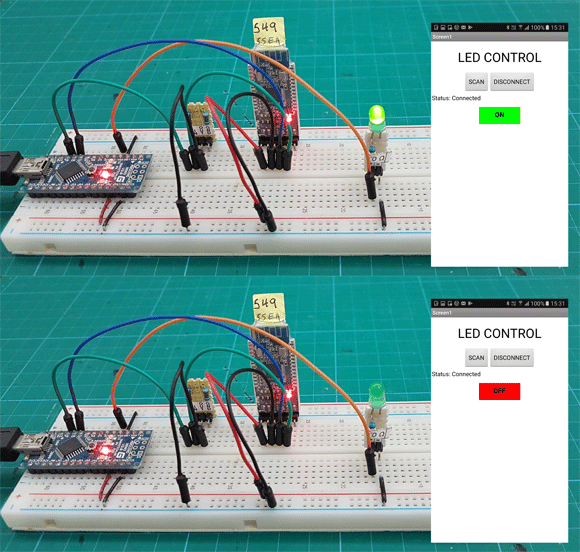
Arduino-AI2-Bluetooth_1LED_01In first example you could only control the LED from the Android app, here we extend the example so that we can also control the LED at the Arduino side. When the LED is turned on or off by the Arduino we want the button in the app to update to show the correct LED status.

The first example used methods only suitable for controlling one LED, this time we will try to make it so the Arduino sketch and also the AI2 app can be easily scaled and so once you have the basic app in place adding extra buttons and controls should be fairly straight forward.

Read more

Turning a LED on and off with an Arduino, a HC-06 and Android

Although I use a HC-06 in the below examples the HC-05 in slave mode can also be used.

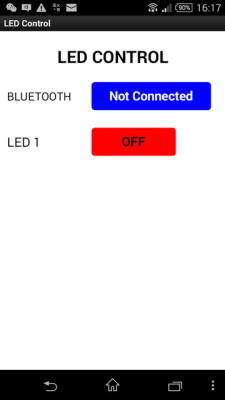
Using MITs app inventor it is fairly easy to create an app that can turn a LED on and off from an Android device.

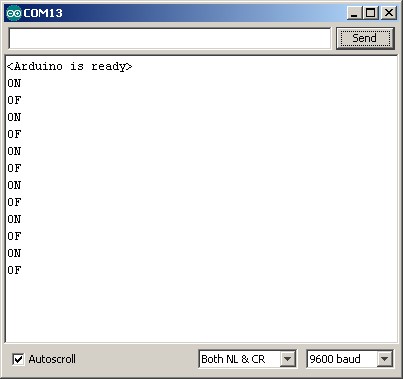
This is a fairly simply example of sending commands to the Arduino to turn a LED either on or off. The Android app sends ascii codes to the Arduino via the HC-06 BT module; “ON” for on and “OF” for off.

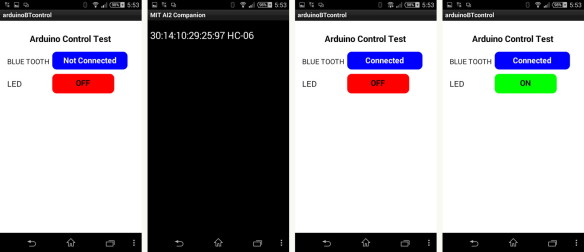
Load the app, connect to the HC-06 and then use the LED button to turn the LED on and off.

Arduino_Android_LED_AppUse_Screen_001
Arduino_Android_LED_on-off_1600

You can also open the serial monitor to see the commands as they are received
Arduino_Android_SerialMonitor

Read more