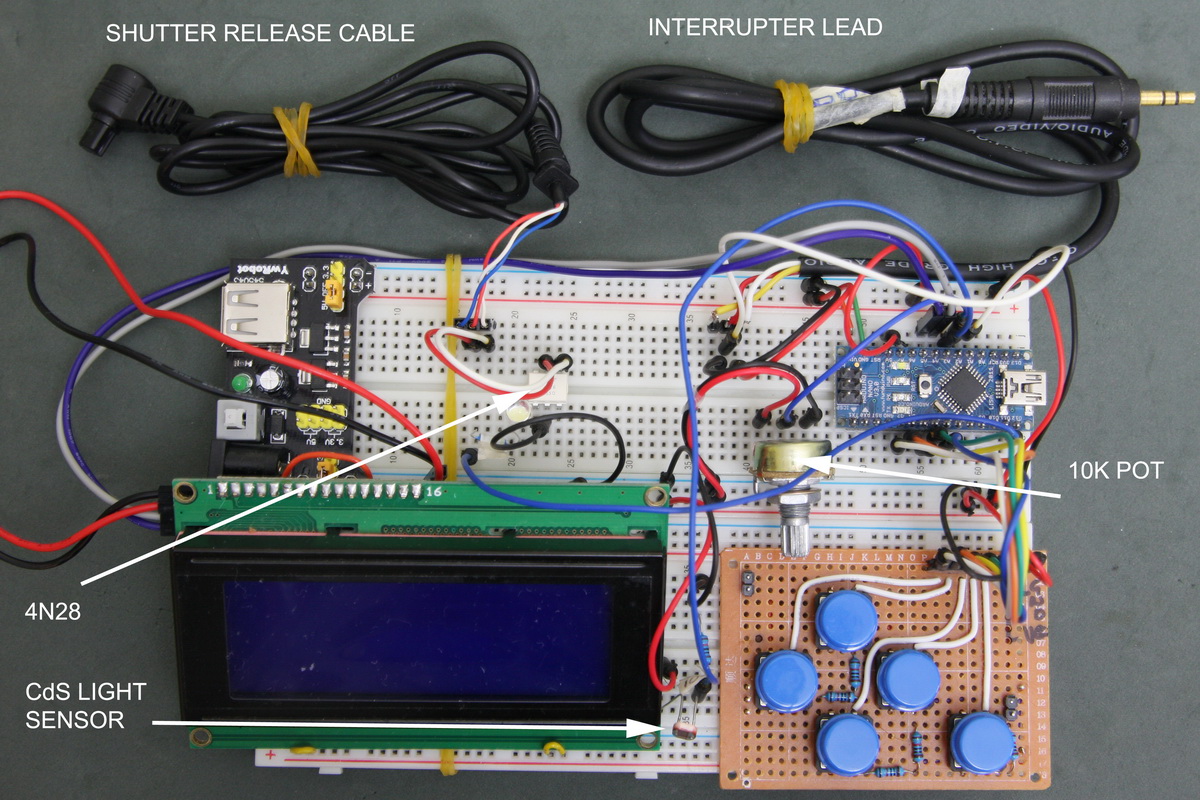
I started creating a controller using a single Arduino Nano on a breadboard. Although it was very basic it worked fairly well. It allowed me to control a solenoid valve and trigger the camera shutter. I also added basic camera control and a timelapse function (intervalometer). This part worked well. I could set the frequency and the number of shots and the Arduino did the rest.
Initially had the Arduino controlling the solenoid and then triggering the shutter after a delay. I later added an interrupter sensor and a laser beam sensor to detect the water drop and activated the shutter based on a delay after the sensor was tripped. As the controller developed more the breadboard became very messy and this started to annoy me.
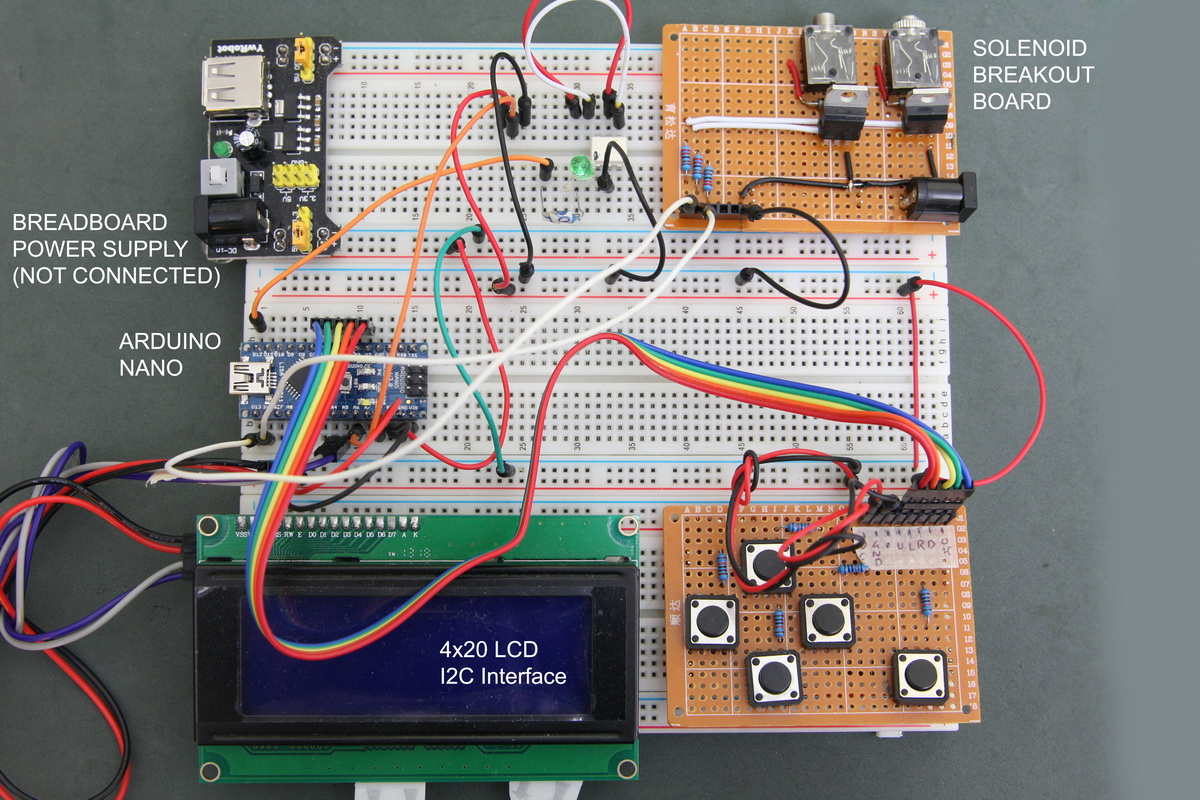
I separated the functions in to two units; a drop controller and a camera controller.
Hi, Is it possible to get the wiring diagrams and component list for the “Photographing Water Drops Using An Arduino Controller”
Thanks
Paul
See drop controller.com