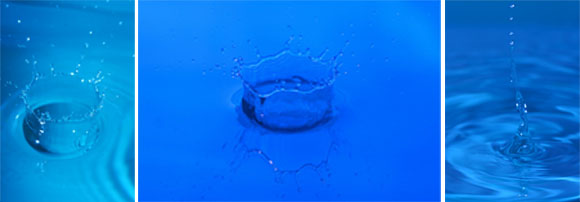
For quite a while I was looking at water drop photos and thinking about trying to do them myself. I finally gave it a go. My first try was simply making drops and trying to capture the splash. Everything was manual; the water drop, the shot, and it was very hit and miss. Mostly miss…
I did get some shots I liked but these are nothing compared to the shots from other people.
When researching online it quickly became apparent I wasn’t going to get better shots with the setup I had; which was a plastic bag with a small hole and hitting the shutter release like a maniac.
The best photos are ones that involve multiple drops colliding. Usually a second or third drop collides with the splash from the first drop. To see some excellent examples take at a look at the following sites:
http://www.markusreugels.de/
http://www.liquidsculpture.com/
http://www.liquiddropart.com/
To get shots like the ones I admired required a different approach and a very different setup. The size of the drops had to be controlled, the timings of the drops had to be controlled and the camera shutter released had to be timed exactly. This meant I needed something to create the drops and something to control the camera.
There are several controllers available commercially, these all do the job, but are expensive.
Nero Trigger
PhotoTrigger
Time Machine
Camera Axe
There are many guides online on how to make your own controller and most that I have seen are based around the Arduino, a user friendly micro-controller. Here is my collection.
 My favourite is the Nano. This is the small one at bottom left. This has the same function as the Dumilanove and the Uno but is a lot smaller and plugs in to a bread board which makes it very convenient to use.
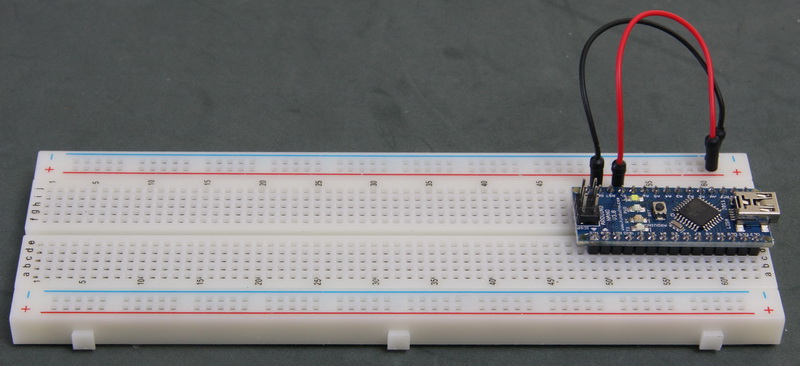 Here is the Arduino Nano on the breadboard. This is how I start most of my arduino projects.
Next: Getting the Arduino to activate the shutter on the camera.